
If you want to test your website locally or verify your own scripts before putting them into production, you need a local test server. With the free Apache HTTP Server, you can install an Apache web server and quickly set up a test environment on your Windows computer.
What is Apache HTTP server?
Apache HTTP Server is free and open source web server software developed by the Apache Software Foundation. As a server-side service, it listens on port 80 by default and on port 443 if SSL/TLS is enabled, and provides HTML documents as well as other resources.
Thanks to its modular architecture, it is possible to add additional features like SSL/TLS, URL rewriting or support for scripting languages such as PHP, Perl or Python.
Apache is part of several software stacks like LAMP, MAMP, WAMP or XAMPP, but can also be used standalone.
For many years, Apache has been one of the most widely used web servers, and the community continually contributes to its development. The current stable version is 2.4.66, released on December 4, 2025.
To run Apache on Windows, all you need is the correct binary package for your operating system. You will find executable binary files for Windows on community sites like Apache Lounge. These precompiled Windows binaries are usually provided as ZIP archives. Download the current version and verify its integrity (e.g. using the PGP signature) before using it.
ZIP based Windows packages can be used without traditional installation. Then proceed as follows:
- Save the software package as a ZIP file in a directory of your choice on your local Windows PC.
- Right-click the folder icon and then select “Extract All” to unzip the ZIP file.
- Select the Apache24 folder and copy it to
C:\.
All the files you need for your local Apache web server to work are now located under C:\Apache24.
After installation, it is recommended to perform a test. To do this, go to C:\Apache24 and open the bin folder. There you will find the httpd application. Run it by double-clicking to start your Apache web server.
Typically, your system will display two error messages indicating that software components need to be installed later and that the Apache web server is blocked by the operating system’s firewall.
httpd.exe system error
If you are installing Apache for the first time on your Windows PC, your system will probably tell you that the web server cannot start because the VCRUNTIME140.dll file cannot be found.
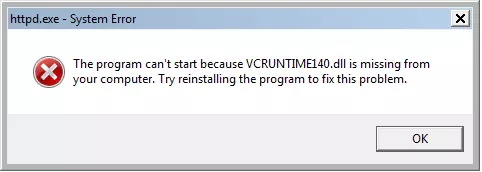
System error: The VCRUNTIME140.dll file was not found.
This problem can be resolved by subsequently installing the corresponding software components. Since Apache is written in C, the program needs a suitable runtime environment on Windows. This is provided by the compilation software Visual C++.
Missing runtime components can be installed later via Visual C++ Redistributable Packages. Microsoft makes the corresponding packages available free of charge for downloadand they can be installed locally by a simple double-click on the .exe file.
Windows Security Warning
Your PC is usually protected by a firewall that prevents external programs from unauthorized access to the system over a network. However, if you want to make your local Apache HTTP server available in a home or office network, in this case you must explicitly allow Apache communication. This is done as part of the security warning below, which informs you that certain Features of your web server were blocked by the firewall.
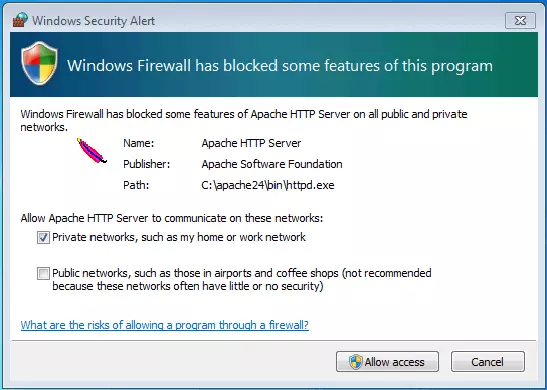
In the standard configuration, Windows Firewall blocks certain features of the web server.
If you want to allow access to your server in one of the indicated networks, check the corresponding box and click on the button » Allow access « . Administrator rights are usually required for this action.
After installing the runtime components and authorizing in the firewall, restart the web server via the httpd file. A command line window opens. Close this window to stop the Apache web server or use the keyboard shortcut [Ctrl] +[C]. You can also configure Apache as a Windows service so that it runs constantly in the background.
Start the command line window of your Apache web server with a double-click on the httpd file.
To call your web server with any browser, type « localhost » or the default IP address » 127.0.0.1 » in the search box.
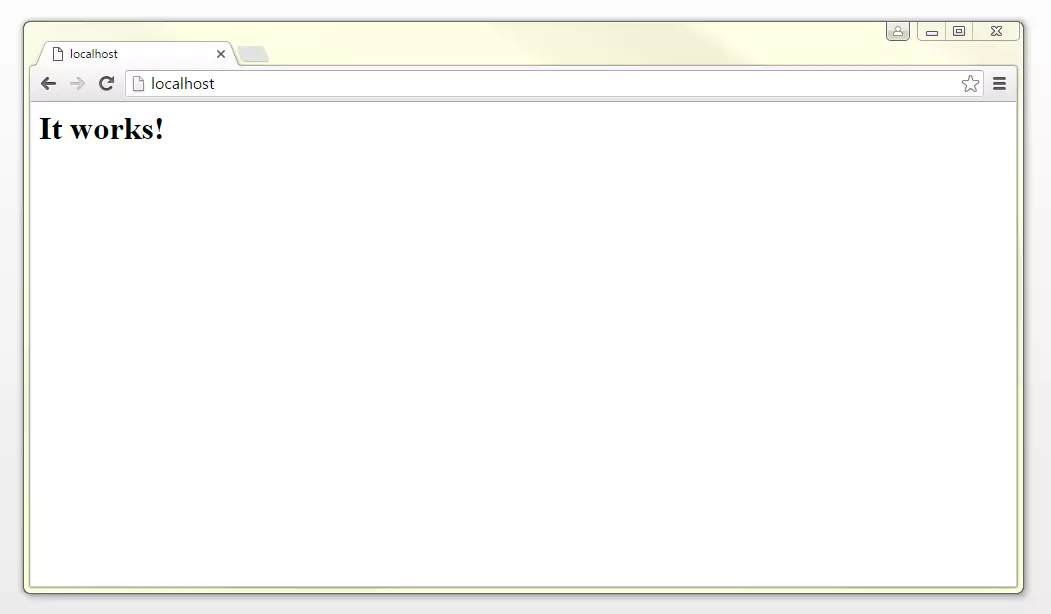
If all settings have been applied correctly, your web browser displays a predefined file titled “index.html” with the following content: “ It works! » (in French: “It works!”). You can then move on to configuring your web server.
 mindscannershutterstock
 Contents of the example index.html file after the correct configuration of the web server: It works!


In principle, the Apache HTTP server is preconfigured as a software package so that it is operational without additional settings. The contents that you want to call via the web server are placed in a directory defined as “DocumentRoot” in the httpd.conf configuration file. By default, this is the htdocs folder under C:\Apache24.
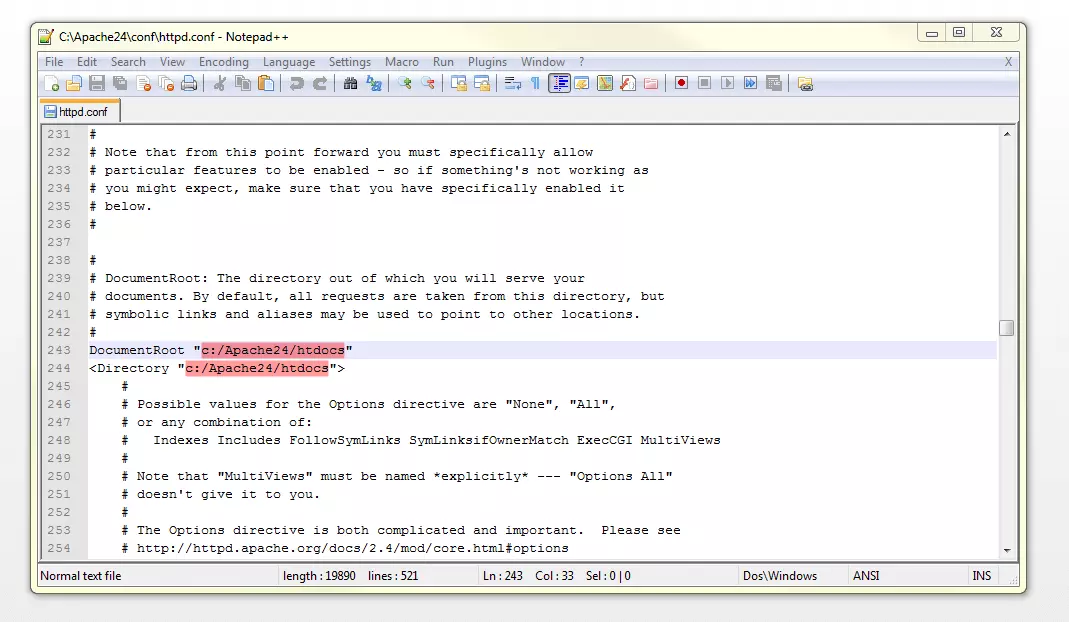
In the httpd.conf configuration file, C:\Apache24\htdocs is defined as « DocumentRoot » and « Directory ».
If you want to store your website documents and files in another folder, it must be specified as “DocumentRoot” and “Directory” in the file httpd.conf.
For demonstration purposes, we create under C:\ a new folder named “MyHomePage”, which should serve as the Web directory for a fictitious site. In this folder we place the two HTML documents test-1 and test-2. We then adapt the “DocumentRoot” and “Directory” values in the httpd.conf file according to our new Web directory, replacing C:\Apache24/htdocs by C:\MaPageDAccueil at both locations.
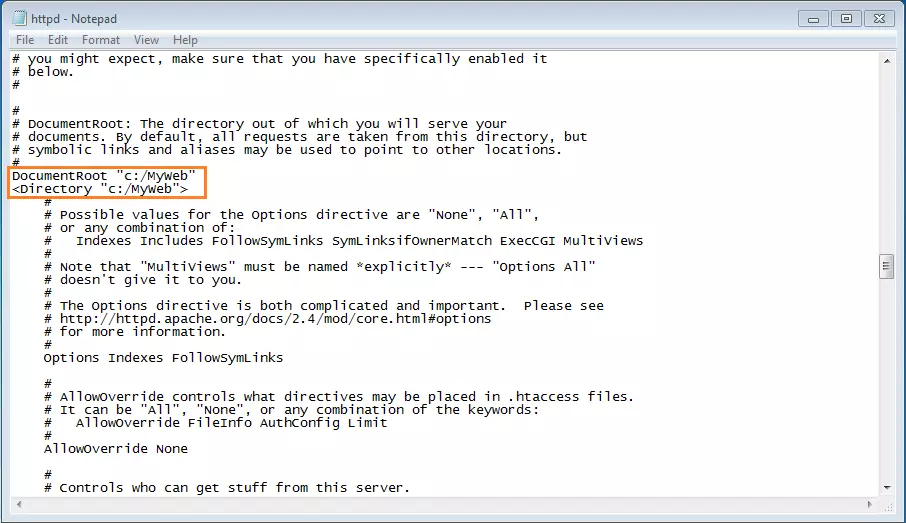
In the httpd.conf file, the default values of “DocumentRoot” and “Directory” are replaced by the newly created web directory.
After restarting Apache and accessing the web server via localhost, the browser displays the index of our web directory with the HTML pages test-1.html and test-2.html.
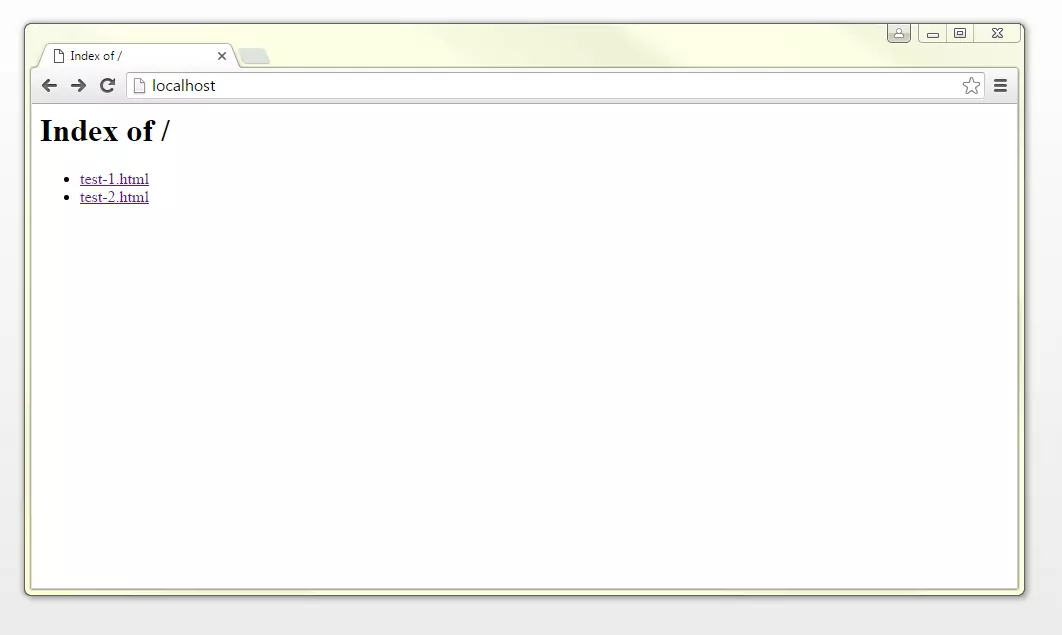
Check that your modifications have been taken into account by accessing, after restarting the Web server, via localhost the index of your Web directory.