With a dedicated Palworld server, you have complete control over the game world, player base, and modifications. Once you have the appropriate hardware available, install the necessary server application via SteamCMD or the Steam client.
Palworld Server: what are the prerequisites?
You can basically set up and host a dedicated server for the Palworld video game on your own computer. However, due to the size of the game universe, the server application is relatively resource intensive. You should therefore favor a hosting on external hardware and from a professional supplier. Only this way will you achieve the best gaming performance! You will not only have access to efficient server resources, but also to professional support. Plus, you get a broadband connection that's much better than your home network access.
You can use the rented server hardware in a versatile way: in addition to hosting a game server, you can, for example, install your own TeamSpeak server there.
The requirements of a Palworld server depend in particular on the number of players connected to the server simultaneously. The following values can be retained as minimum conditions :
- Processor (CPU) :min. 3.8 GHz (2 cores)
- RAM :min. 6 GB, plus an additional 2 GB per player
- Hard disk space : 30 GB
Added to this are the server operating system requirements. For example, for a Windows Server 2022you also need a processor power of 1.4 GHz, 2 GB of RAM and 36 GB of disk space (512 MB and 32 GB without graphical interface).
The high RAM requirement is explained by the size of the Palworld game world. The development team recommends restart regularly the server in order to relieve RAM.
Hosting a Palworld server: what we offer you at IONOS
Depending on the service provider you choose, you will be offered different server offers for Palworld server hosting. At IONOS, for example, you have the choice between three different types of servers to host video games running on a dedicated server:
-
Cloud Server: IONOS Cloud Servers are a perfect introduction to hosting. All resources are virtualized and flexibly scalable. Billing is done per minute depending on the power used.
-
Virtual Private Server (VPS): IONOS vServers are also based on virtualization (fixed host system). Monthly costs are fixed for this server model, regardless of server usage.
-
Dedicated server: You get enterprise hardware without virtualization if you choose a dedicated server from IONOS. For this model too, consumption is billed per minute.
No matter which server price you choose: with IONOS, a fast connection of up to 1 Gbit/s as well as 99.9% server availability are guaranteed!
IONOS servers: our advice for getting started
You have not yet determined with certainty the objectives of your future Palworld server? In this case, the Cloud servers from IONOS are the perfect solution: choose a small starting configuration for two or three players and then add additional features at any time, for example when the number of players increases. You decide for yourself when and how long the server is online and only pay at the end of the month for the power actually used!
For a Palworld server with 2 to 4 players, the price the most advantageous with the right performance: the Cloud RAM XL server.
5 Palworld server scenarios and adapted solutions from IONOS
Not sure which server type and price is right for your needs? Below we show you five possible usage scenarios for your own Palworld server, including the corresponding server prices from IONOS.
Instructions: Install and Configure Palworld Server (Windows)
After assembling or renting the hardware, you can directly start setting up your own Palworld server. We will review the different steps for this purpose, using an IONOS server as an example (Cloud server, dedicated server, VPS). The operating system chosen in this case is Windows Server 2022.
Step 1: Establish a remote connection to the server
To be able to install and configure your Palworld server, you must have an active connection to the equipment rented from IONOS. Remote connection to Windows Server 2022 is most easily done via the Remote Desktop Protocol (RDP). At IONOS, this configuration is done quickly and easily in the customer account:
- Log in to IONOS customer account.
- Access the menu “ Servers & Cloud « .
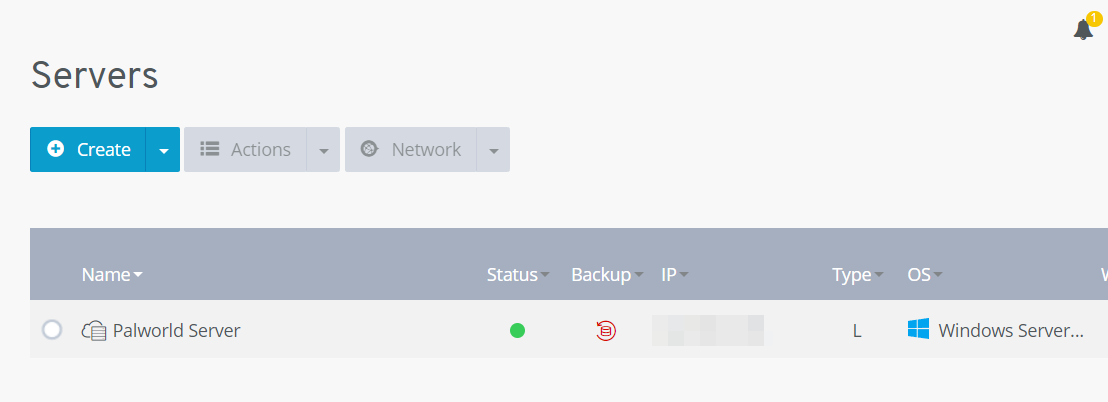
- Select the hardware for the Palworld server.
- Click the download link for Remote Desktop Connection setup under “Access Data”.
- Double-click the file .rdp downloaded.
- Log in with your personal server data (username and initial password) and confirm the security message to confirm the remote connection.

Step 2: Install SteamCMD
Once the connection to the hardware is established, you can start configuring the Palworld server by installing SteamCMD on the system. This is the command line client of the well-known gaming platform, which allows you to connect to public Steam servers and download dedicated server applications.
Click on this download link for SteamCMD and unzip the installation package to a folder of your choice, e.g. C:\SteamCmd. Next, run the unzipped file to install the command line tool.
Step 3: Download Palworld Server
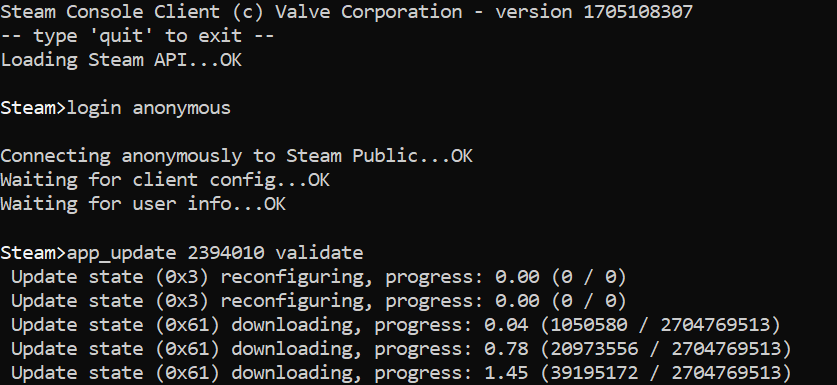
As soon as you run the file steamcmd.exe, the command line client starts and you can connect to the Public-Steam servers at any time. In the case of Palworld dedicated server software, it is enough to connect anonymously, which is possible using the following command:
Using app_update in combination with Steam ID Palworld Dedicated Server (2394010), you finally download the server software:
app_update 2394010 validate
bash

You can also get the server application for Palworld through the standard platform Steam. If you have it installed on your server, log in with the account you purchased Palworld with and navigate to the Steam library. Check the “Tools” box and you should then find, among other things, the entry “Palworld Dedicated Server”.
Step 4: Configure Palworld Server
As soon as all the program files have been downloaded, you can begin configuring the Palworld server. You will find the necessary configuration file, named PalWorldSettings.iniin the subdirectory of your SteamCMD installation (.\steamapps\common\PalServer\Pal\Saved\Config\WindowsServer). In this file you can also set the difficulty level or make individual adjustments for parameters such as the rate of spawn (appearance) pals or experience points obtained.
THE most important parameters are the following :
ServerPlayerMaxNum=32 : by default, the maximum number of players is set at 32. Adapt this number to your expectations in order to limit the number of players in due time.
ServerName="Default Palworld Server" : give an individual name to your Palworld server; otherwise, it will be displayed as “Default Palworld Server”.
ServerDescription="" : A short description gives users an idea of the gaming experience on your server.
AdminPassword="" : assign an individual password for the admin connection on your server.
ServerPassword="" : For a private gaming session, you can request a specific server password from all players wishing to participate. This way, only users with this password can log in.
The different parameters must always be separated by a comma and placed in parentheses. Before that it says this is a script with server options. An example configuration simplein which we limit the number of players to 8 and assign a server name, looks for example as follows:
[/Script/Pal.PalGameWorldSettings]
OptionSettings=(ServerPlayerMaxNum=8,ServerName="Palworld Server by IONOS")
text
Step 5: Free the Ports
To make your Palworld server accessible, you must open the appropriate ports in the server's firewall. It's about port for Steam requests, therefore for game data traffic (TCP/UDP: 27015) and public server port itself (TCP/UDP: 8211). With IONOS you can configure the server firewall directly in the customer account:
- Log in to IONOS customer account.
- Go to the menu “ Servers & Cloud » and select your Palworld server.
- In the left side menu, then click on “ Network » And » Firewall settings « .
- Add the rules for both ports, specifying the protocol and port number and an optional description, then press » Add a rule« .

Step 6: Start the Server
After configuring and opening the port, you can directly launch your Palworld server. To do this, simply run the file PalServer.exe in the startup folder of the server directory .\steamapps\common\PalServer. A new Command Prompt window opens and tells you that the server has been successfully started.
Step 7: Connect to the Created Palworld Server
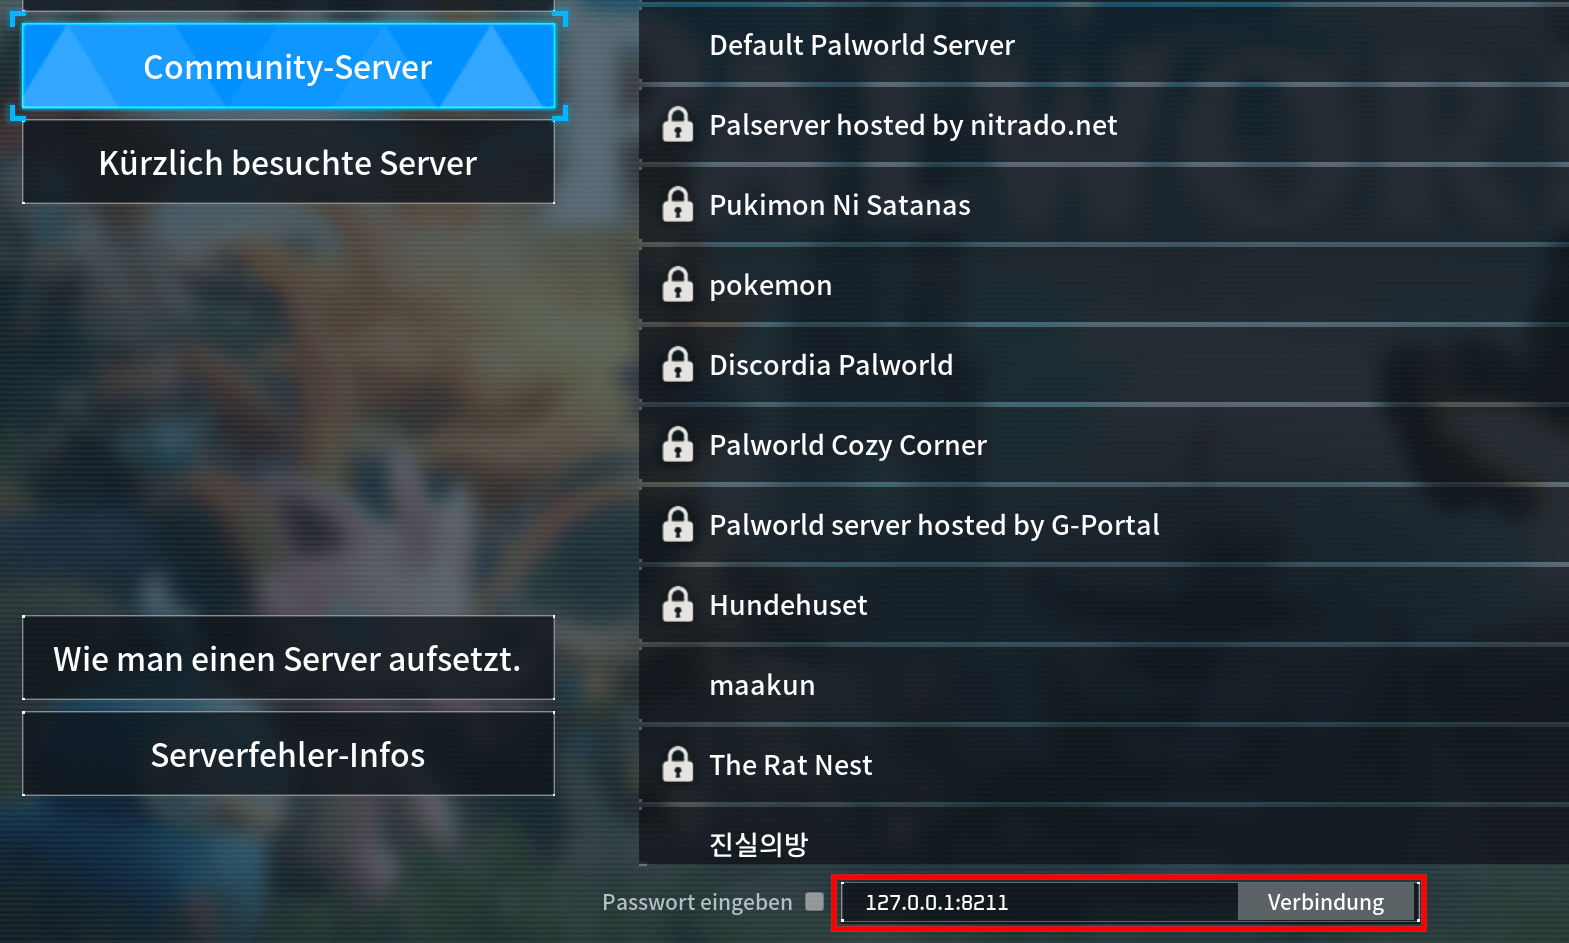
You and your comrades-in-arms can now connect to the set-up server at any time, create characters and hunt pals! If you can't find your server in the official list, you can also directly enter the IP address:
- Launch the Palworld game.
- Then start multiplayer mode.
- Go to the category “ Community Servers » (Community Server).
- Use the search function to find your server. You can also type the server IP address along with the port
:8211in the lower input field and press “ Connection « .

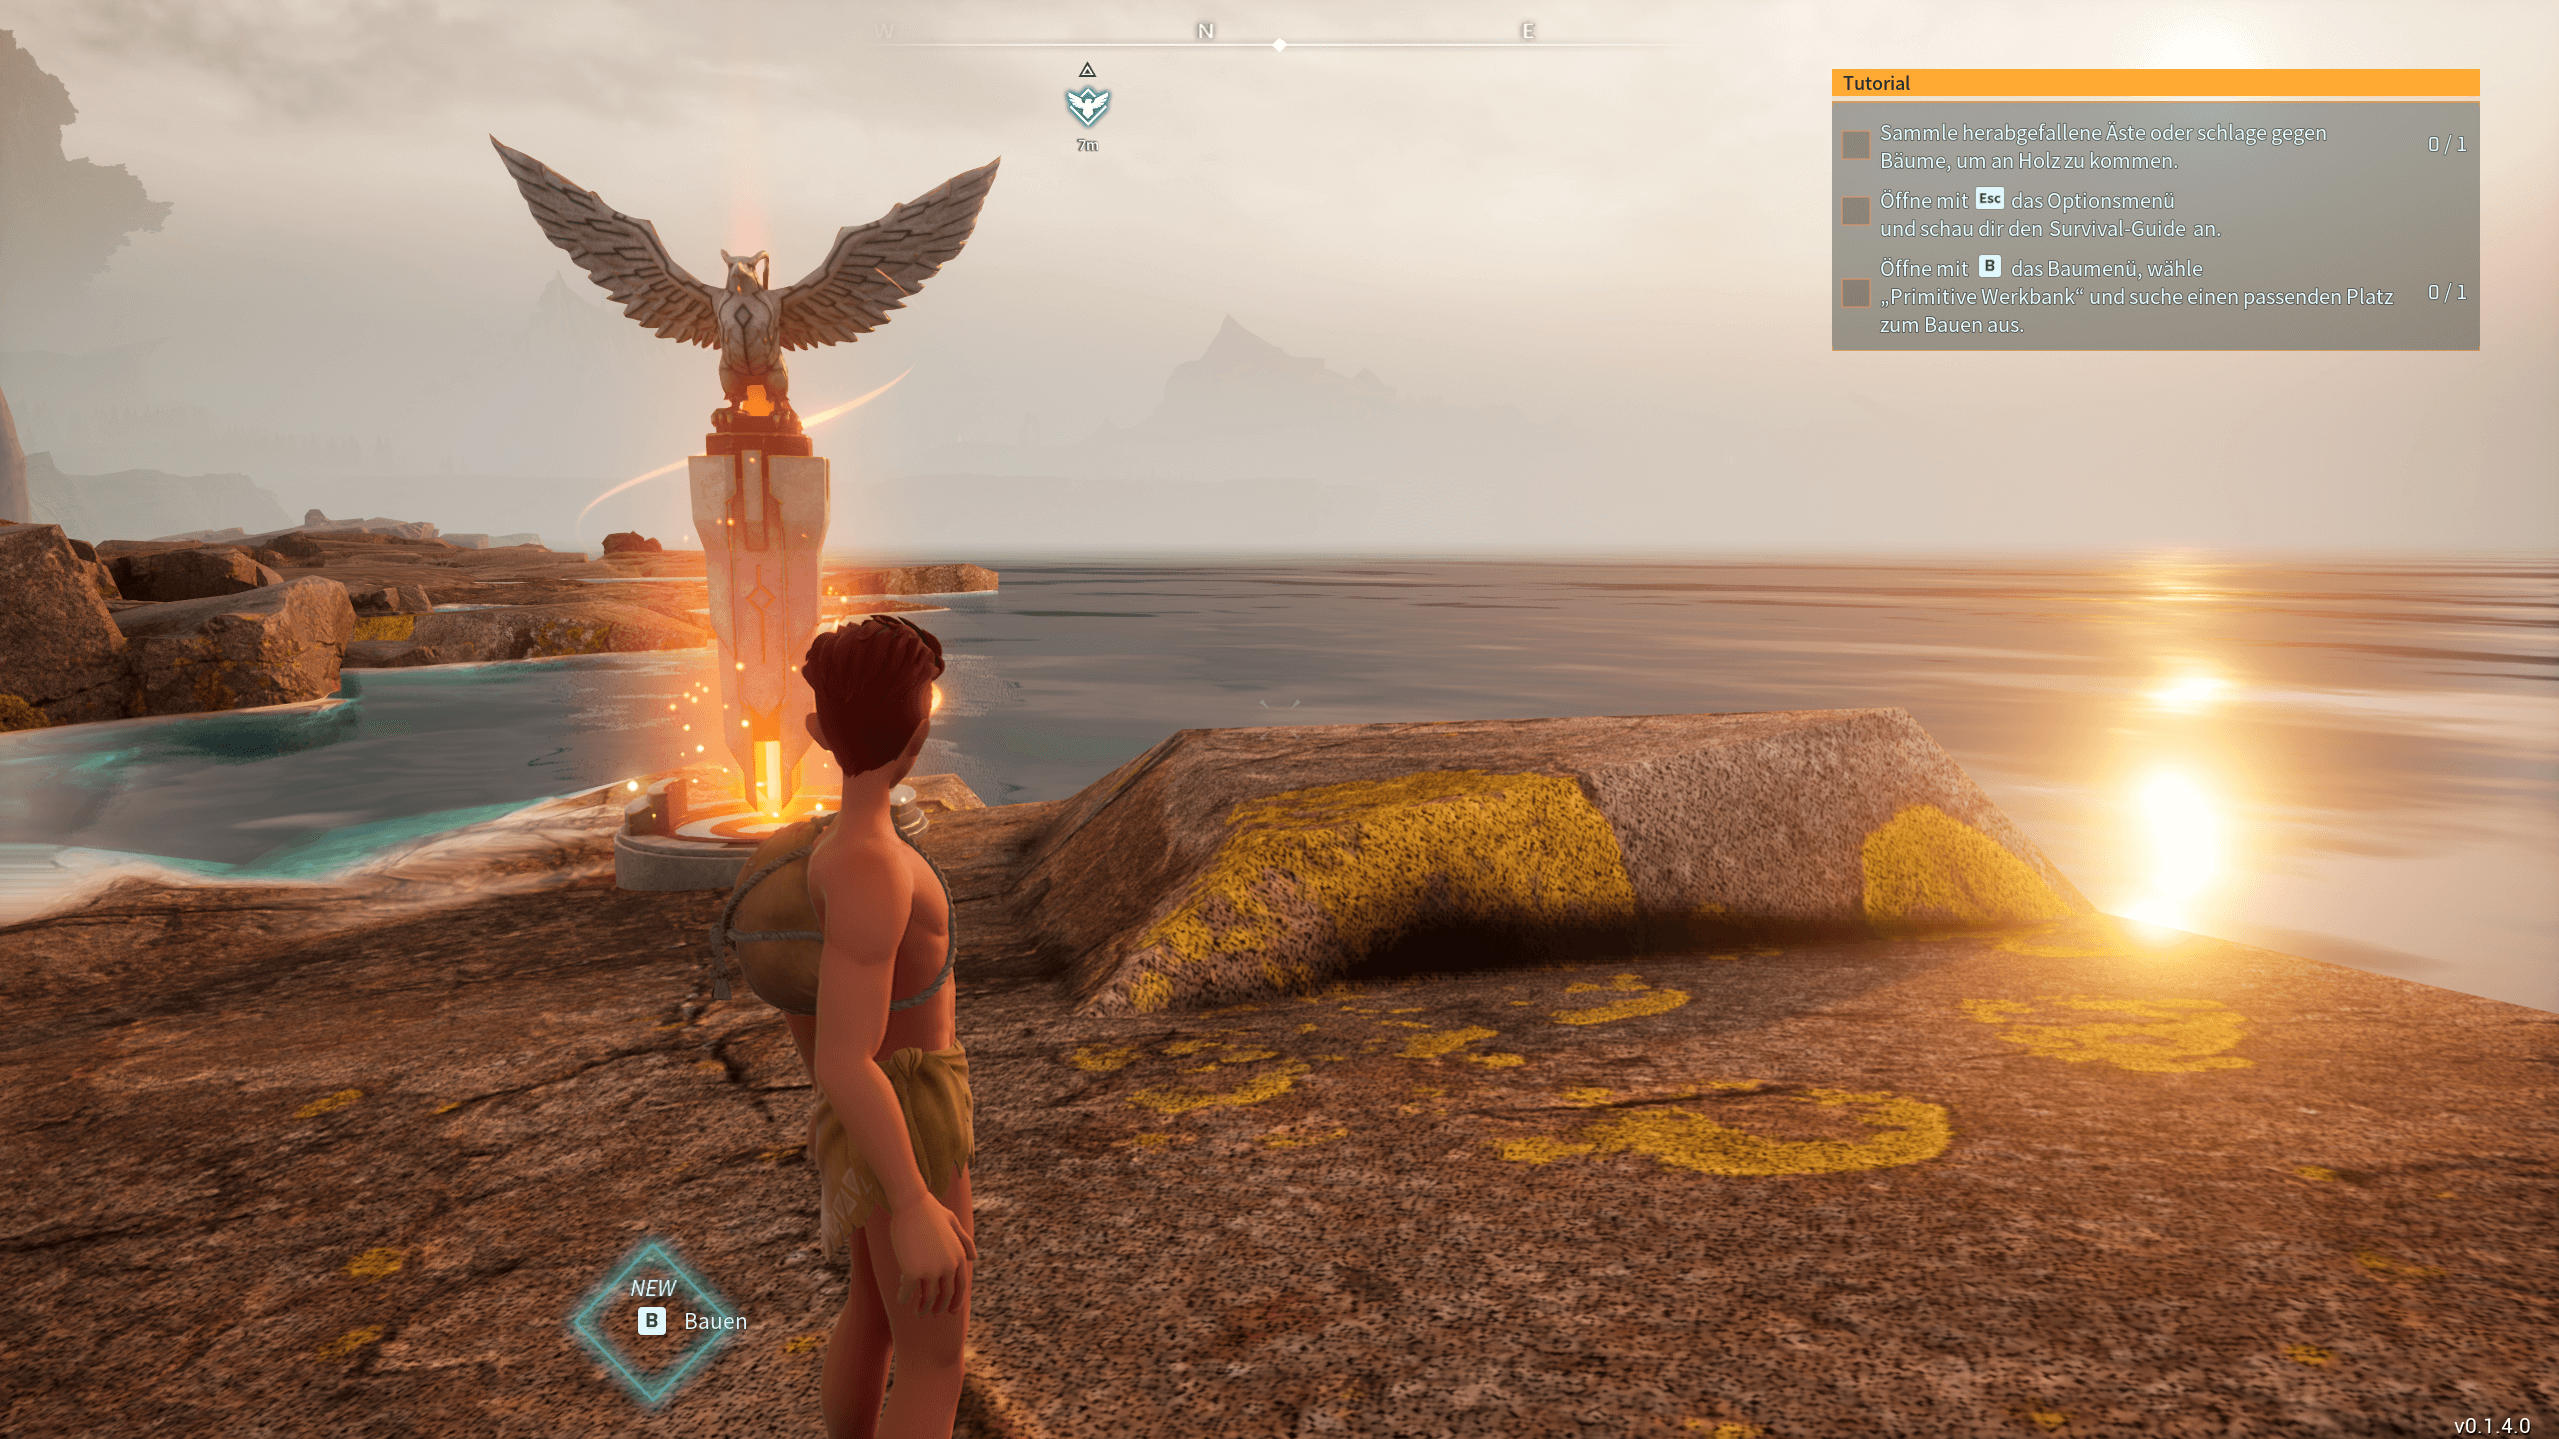
Once connected, create your character, choose one of the known entry points and embark on the adventure with your friends!

Customize your server further by registering your own server address with a suitable domain extension, for example a .gg domain!


