By default, Minecraft is not compatible with installing Minecraft mods on the server. However, you can work around this problem with tools such as Curse Forge.
Install Minecraft mods for server
There are many programs that make it easy to install Minecraft mods on your server. For the installation of mods explained below, we use the tool Curse Forgebut other programs like modinstall are also suitable for installing different Minecraft mods. The installation procedure differs somewhat depending on whether it takes place on your Minecraft server on Linux or on Windows. Below is a method specific to Windows servers.
- Check that you are using the java version of minecraft.
- Perform a backup Minecraft to make sure no game data goes missing.
- Install the Curse Forge app.
- Open Curse Forge, select the Minecraft game and search for the mods you are interested in. Click “Install” to install the mods.
Detailed instructions of installing Minecraft mods on your server
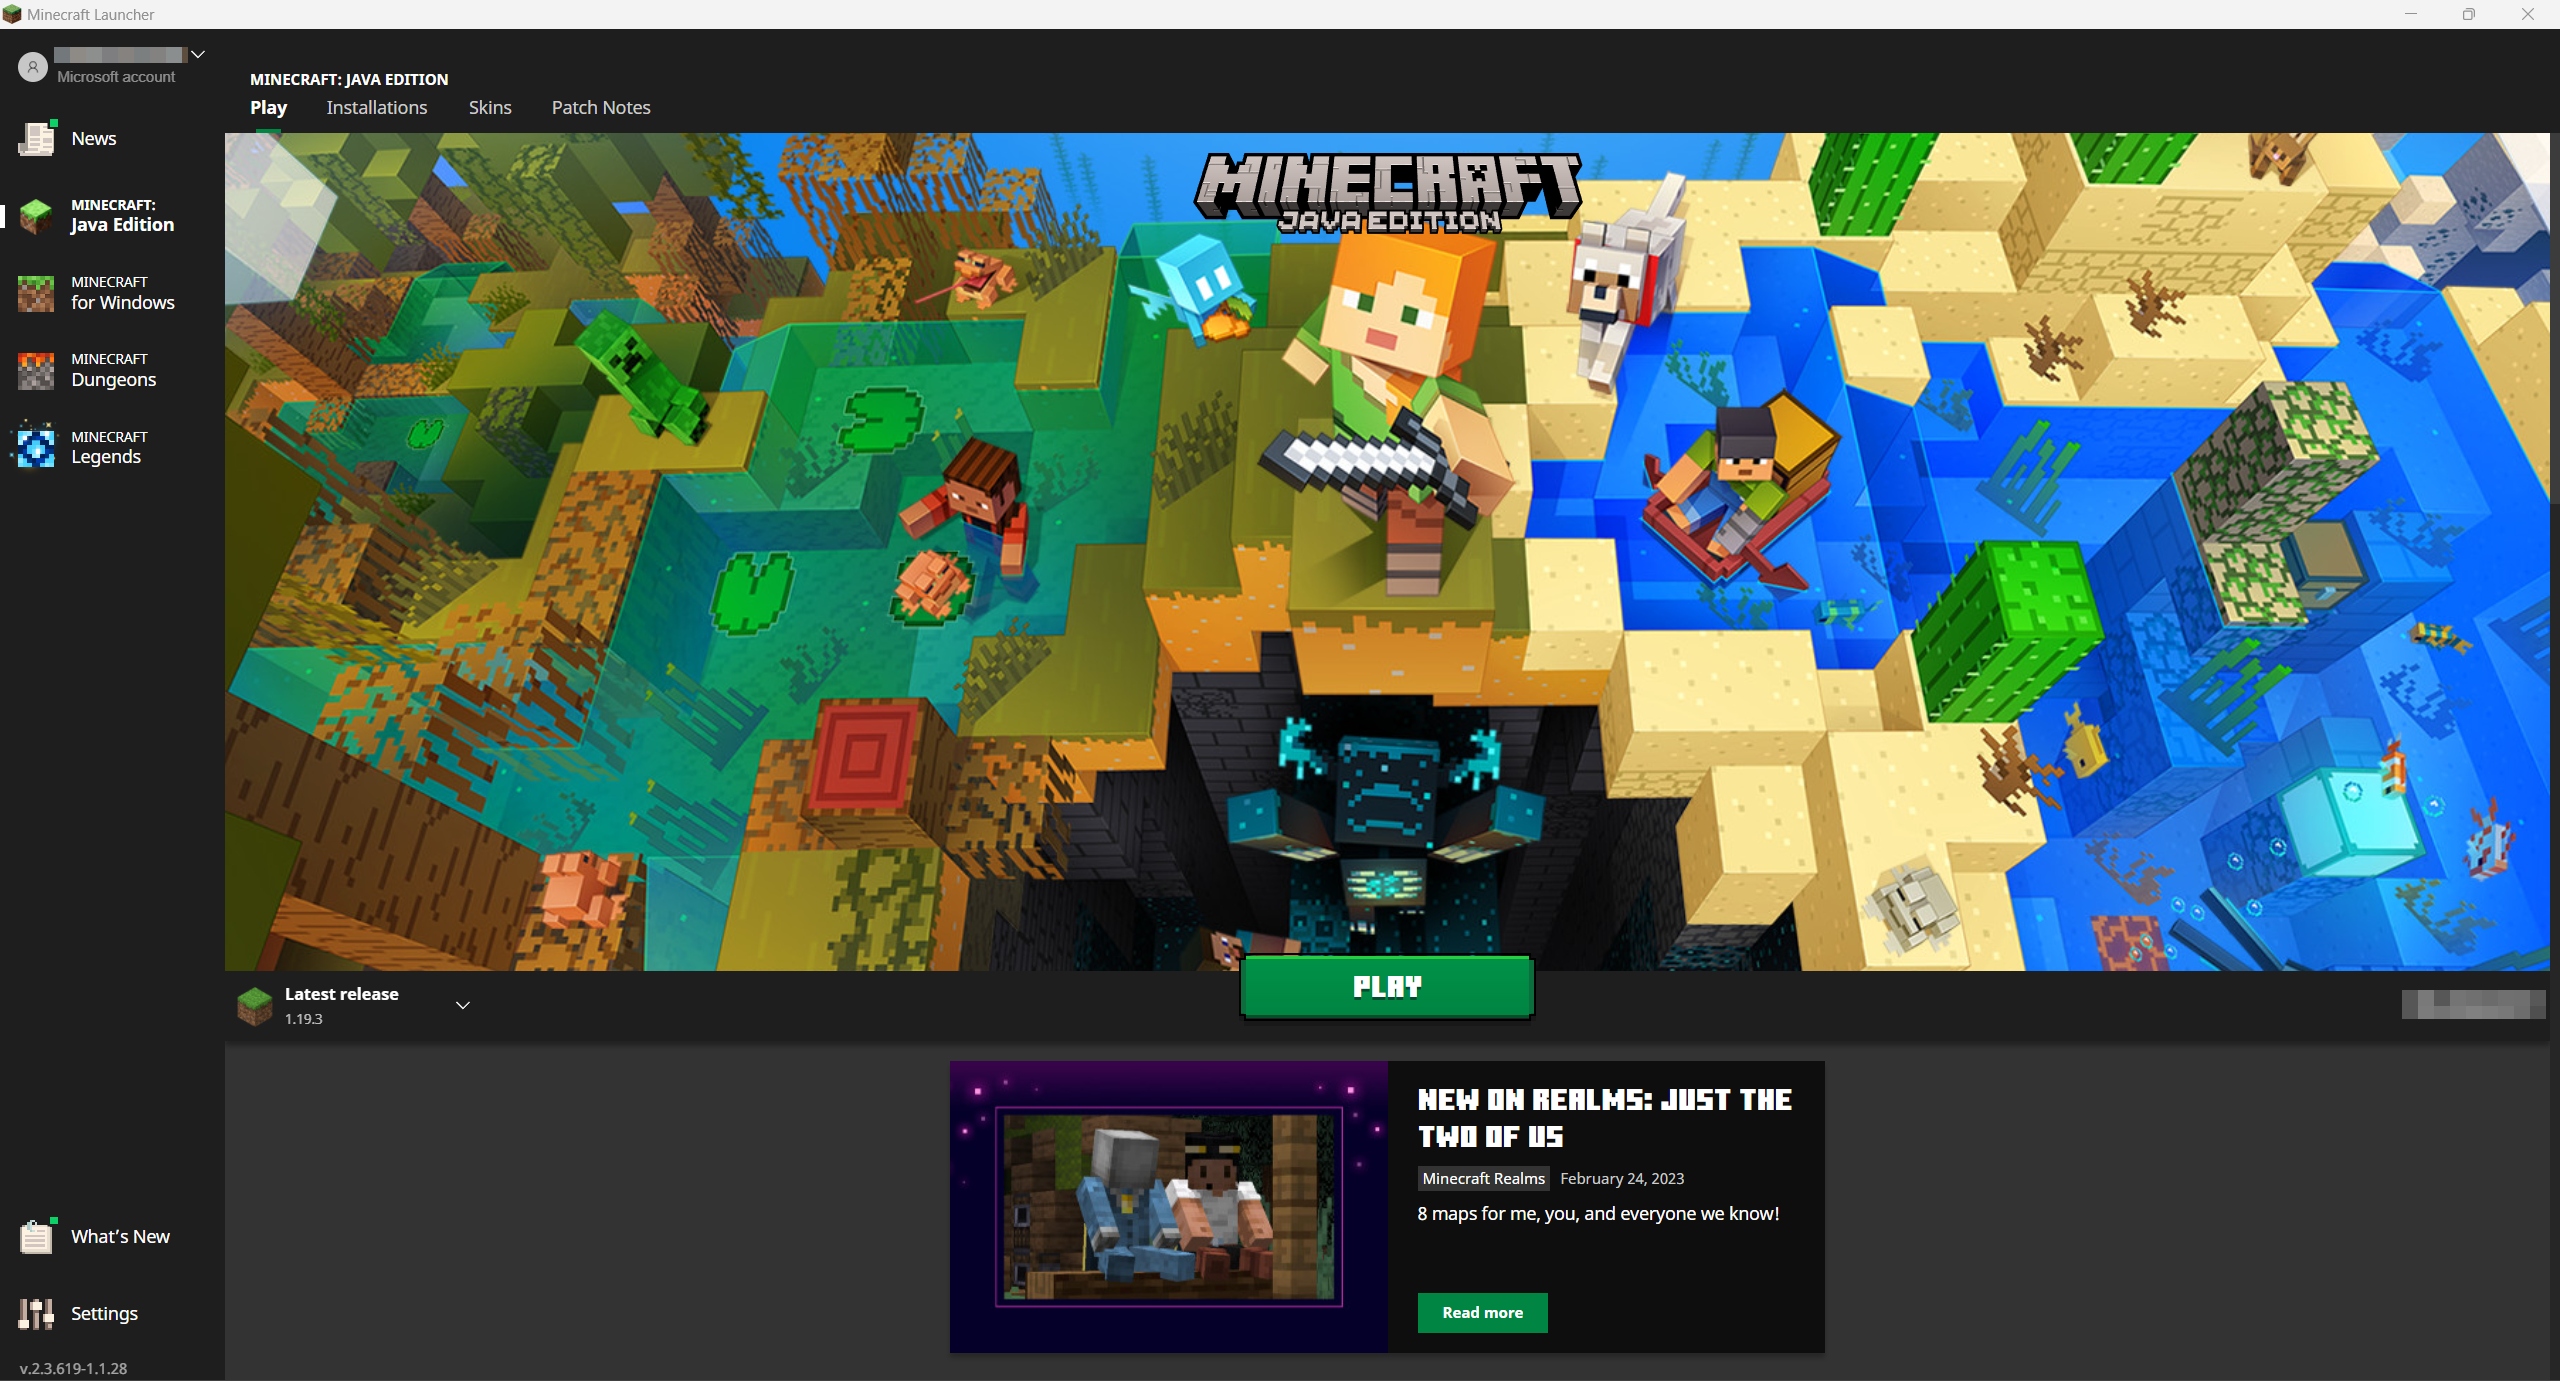
The method of installing Minecraft mods presented below only works if you are using the Java version of Minecraft, because mods are only valid for this version. So check that this is your case by opening Minecraft Launcher. You can indeed read there the number of your version of Minecraft.
Step 1: make a backup
Take a backup of your game data, as problems may occur during the mod installation process, although this rarely happens. Under Windows, this backup takes place in a few minutes:
Step 1.1: Access the Minecraft Folder
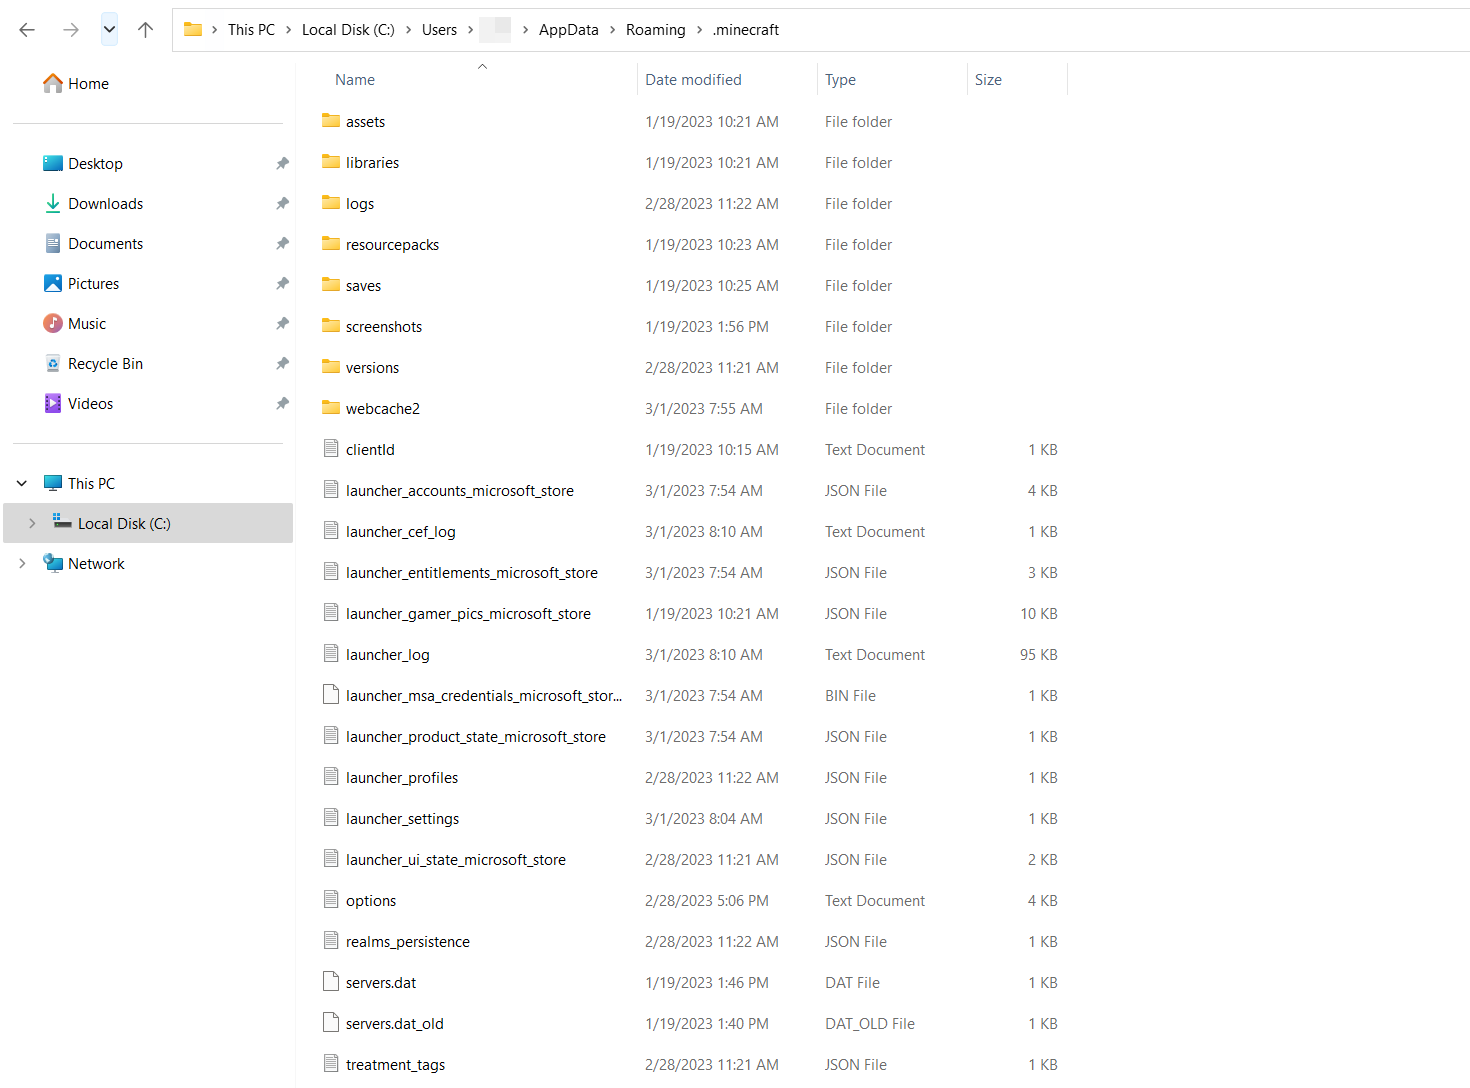
Press the keys [Windows] + [R]. In the text box that appears, enter “%appdata%” and confirm your entry by clicking “OK”. A folder then opens in which the user data of the various programs are located. Among these should be a folder named “.minecraft”.

Step 1.2: Copy Minecraft Folder
Copy the Minecraft folder by pressing the keys [Ctrl] + [C]. At a location of your choice on your server, then create a folder, which you can for example name “Minecraft Backup”. Paste the folder you just copied into it. If for some reason you want to revert to your unmodified Minecraft version, you can easily paste the saved Minecraft folder into your system’s AppData folder.
Step 2: Adjust Versions
If you want to install a specific Minecraft mod on your server, it is possible that a specific Minecraft version is required for the installation of the extension. It is therefore essential to adjust the versions before starting the installation process.
Minecraft generally works under the most recent version. If needed, however, you can switch to older versions of Minecraft by tapping on the “Installs” tab under Minecraft Launcher. You can create a new installation there by clicking on the eponymous button and naming it. For this new version, you have the choice between various Minecraft versions, as well as older versions. You can only select them from the drop-down menu. Always be sure to select the version (release).

Step 3: Install Curse Forge
Using the Curse Forge app, you can manage and load mods for different games, including Minecraft. Start by downloading Curse Forge. You can then run the installation directly with Curse Forge Installer. Only a few clicks are needed.
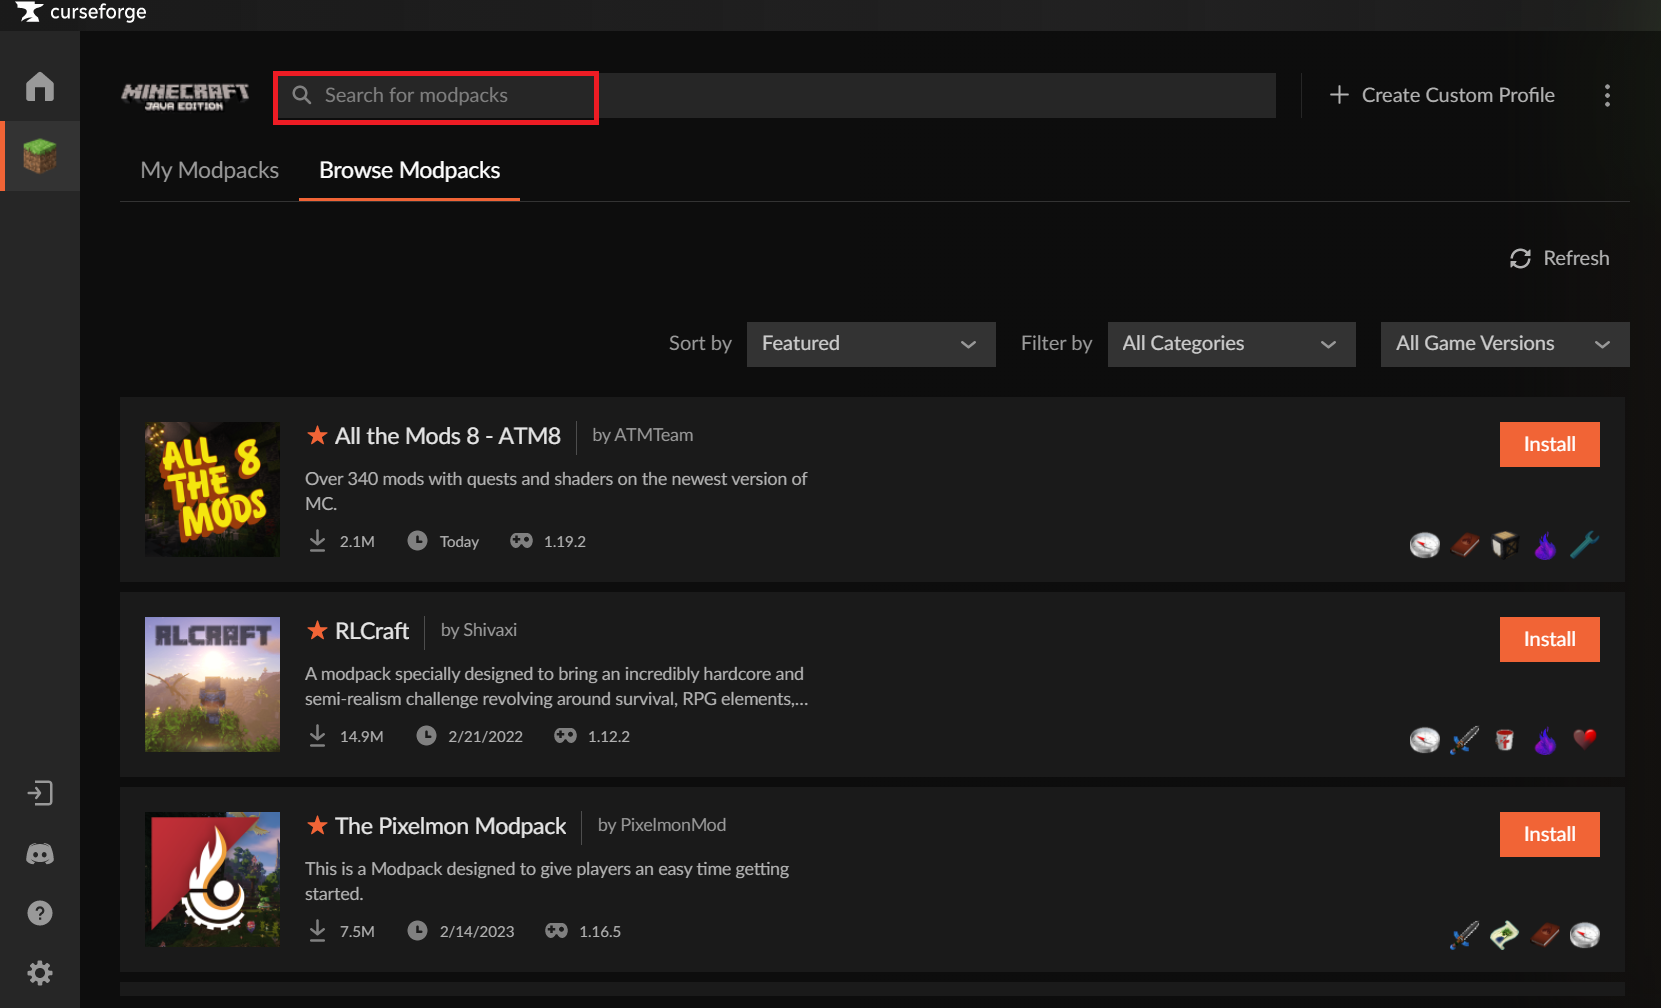
Once the installation is complete, open the application. Under the “Choose a Game” tab, search for Minecraft and select the Standard Modding folder. Click “Browse Modpacks” to access the mod library. There you will find the available mods and can choose one. If you are looking for a specific mod, use the search bar.

Step 4: Install the mod
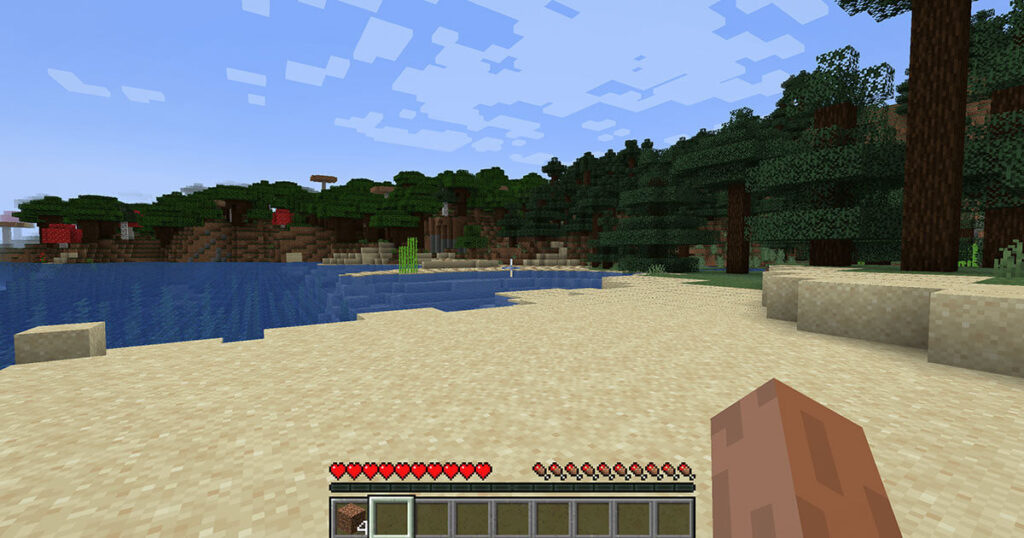
In Curse Forge you can now install mods of your choice. To do this, choose the desired mod and activate the orange “Install” button available for each mod. The installation of the Minecraft mod begins automatically. Once the installation is complete, you can launch Minecraft, with the mod installed, by clicking on the “Play” button which replaces the “Install” button. If you now call the server on your Minecraft server domain and the game starts, that means the addons are also included in your game.
Virtual servers (VPS) with IONOS
Powerful, cost-effective VPS hosting for running your custom apps, with personal advisor and 24/7 support.
SSL certificate
100% SSD storage
Ready in 55s


