The Composer dependency manager is used to install, uninstall and update PHP project libraries and frameworks. In Windows 10, a setup wizard can be used to facilitate Composer configuration. Discover the step-by-step procedure in the rest of this article.
Step 1: Download the current version of Composer
First go to the Composer official download website. For easy installation of Composer on Windows 10, you can use Windows installer. Download the file for this purpose Composer-Setup.exe.

The installation wizard assumes you already have PHP installed. If you haven’t yet, follow our PHP tutorial for beginners and learn how to install and configure the programming language.
Step 2: Open the Windows installer to begin installation
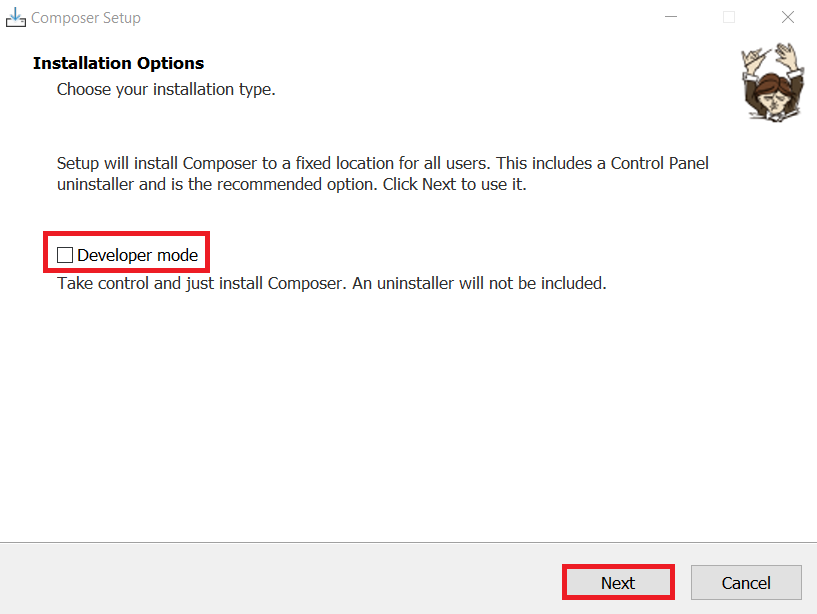
Double-click the .exe file to download it. In the window that opens, allow the file to make changes to your system for the Windows installer to open next. If you already have experience with Composer on Windows 10, you can install in developer mode by checking the corresponding box.

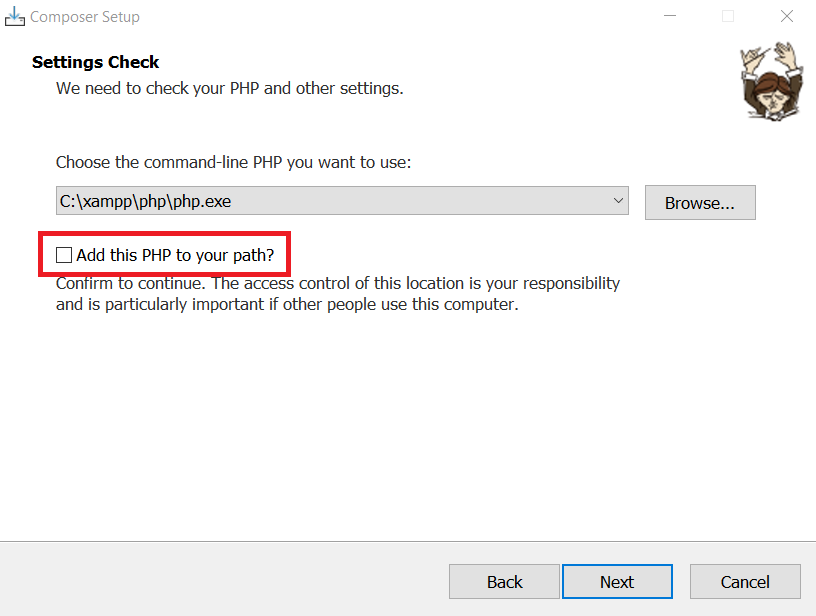
By clicking on “Next”, you continue the installation. Keep the path proposed by default and check the option « Add this PHP to your path? » », otherwise the installation cannot be continued.

You can then ignore proxy url settings. By clicking on « Install », you officially launch the installation of Composer on Windows 10.
Composer can of course also be installed on other operating systems than Windows 10. Read our Digital Guide articles to discover the procedure adapted to the different versions of the systems:
Step 3: Check the installation progress
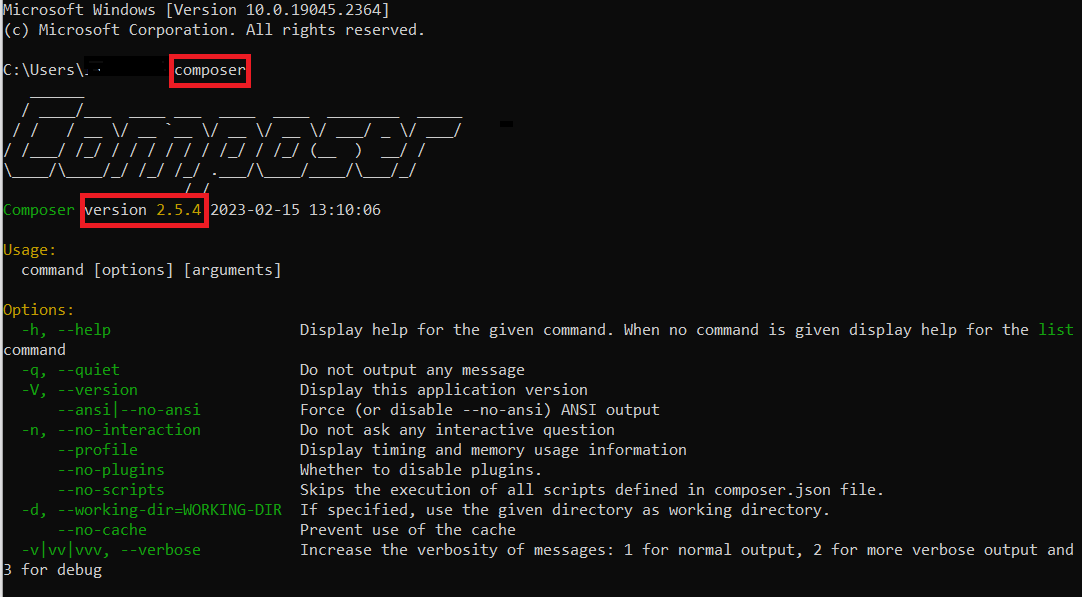
To ensure that Composer installation on Windows 10 was successful, you can open a new command prompt and type the following command:
If the installation was successful, the version of Composer currently installed as well as a list of Composer commands are then displayed:

The IONOS web hosting package also allows you to use Composer. In addition, this hosting solution offers you many advantages such as an integrated Wildcard SSL certificate and DDoS protection or 24//7 assistance.
Composer: how to use the dependency manager?
To add and update dependencies in your PHP project, some Composer commands will be essential to you. In the rest of this article, we present the main commands allowing you to use Composer.
Step 1: Create a composer.json file
Once Composer is installed, all you need is a JSON file called composer.jsonin which you describe the dependencies of your project.
This file can be created using the following Composer command:
If you do not manually create a file composer.jsonit will be generated automatically as soon as you create your first dependency.
Step 2: Add dependencies
In our example, we assume that you need the Monolog logging library for your PHP project. Add this request to your file composer.json using the following command, to be executed in your project folder:
composer require monolog/monologbash
Step 3: Update dependencies
Composer also offers a built-in command to update your PHP project’s dependencies. The following command searches for current versions of libraries included in your project and install them:


