GitHub workflows (or « GitHub workflows ») extend the functionality of GitHub and are created directly in the desired repository in the folder .github/workflows. They allow you to perform automated actions when certain events occur.
What are Github workflows?
In principle, a GitHub workflow is nothing more than a set of most recurrent specific actions, which are automatically executed when a specific event occurs in the repository. It consists of several tasks called “jobs”, which are in turn divided into individual steps or “steps”. In addition to using event-triggered workflows, these can also be started in manual mode or run within defined time intervals. Workflows are an integral part of the GitHub Actions continuous integration platform. Programmers designate the individual actions brought together within the GitHub workflow. The most common fields of application are automated code testing as soon as it is updated in the repository, or the notification of team members when changes occur in the repository.
If you’re using GitHub for your web project, it might be worth turning to Deploy Now to boost your productivity. The already configured GitHub Actions workflow automatically sets up your project.
GitHub workflow: build your own step-by-step workflow
It’s not difficult to create a GitHub workflow. All you need is basic knowledge of the YAML programming language and a GitHub repository where you want to run and deploy your workflow. If you’re using an integrated development environment to write your YAML code, the GitHub Copilot wizard can even help you create the workflow code.
Step 1: Define a workflow
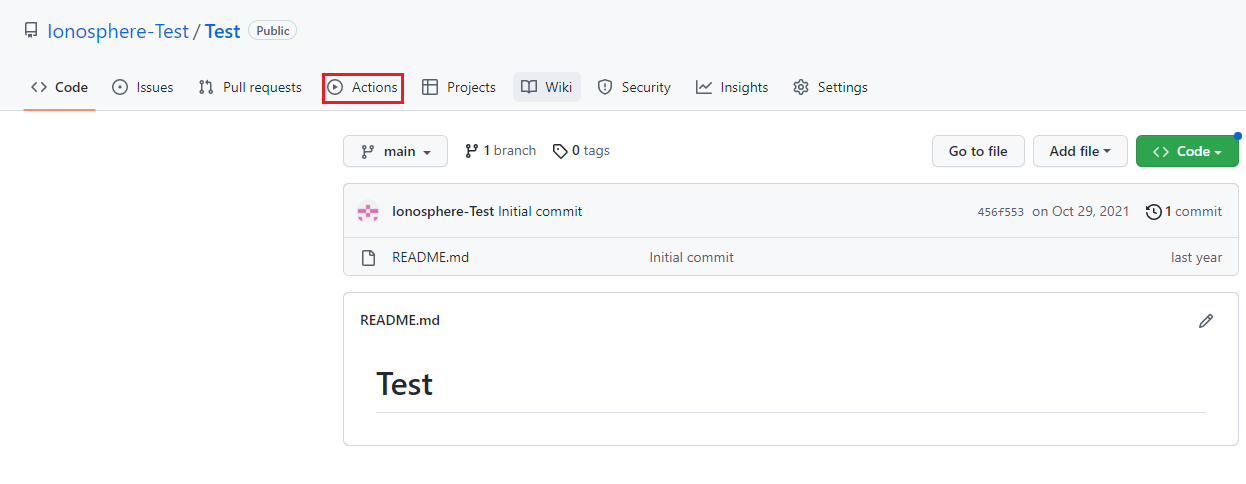
After creating a repository or selecting an existing repository for your GitHub workflow, click the Actions button to access the GitHub Actions menu.

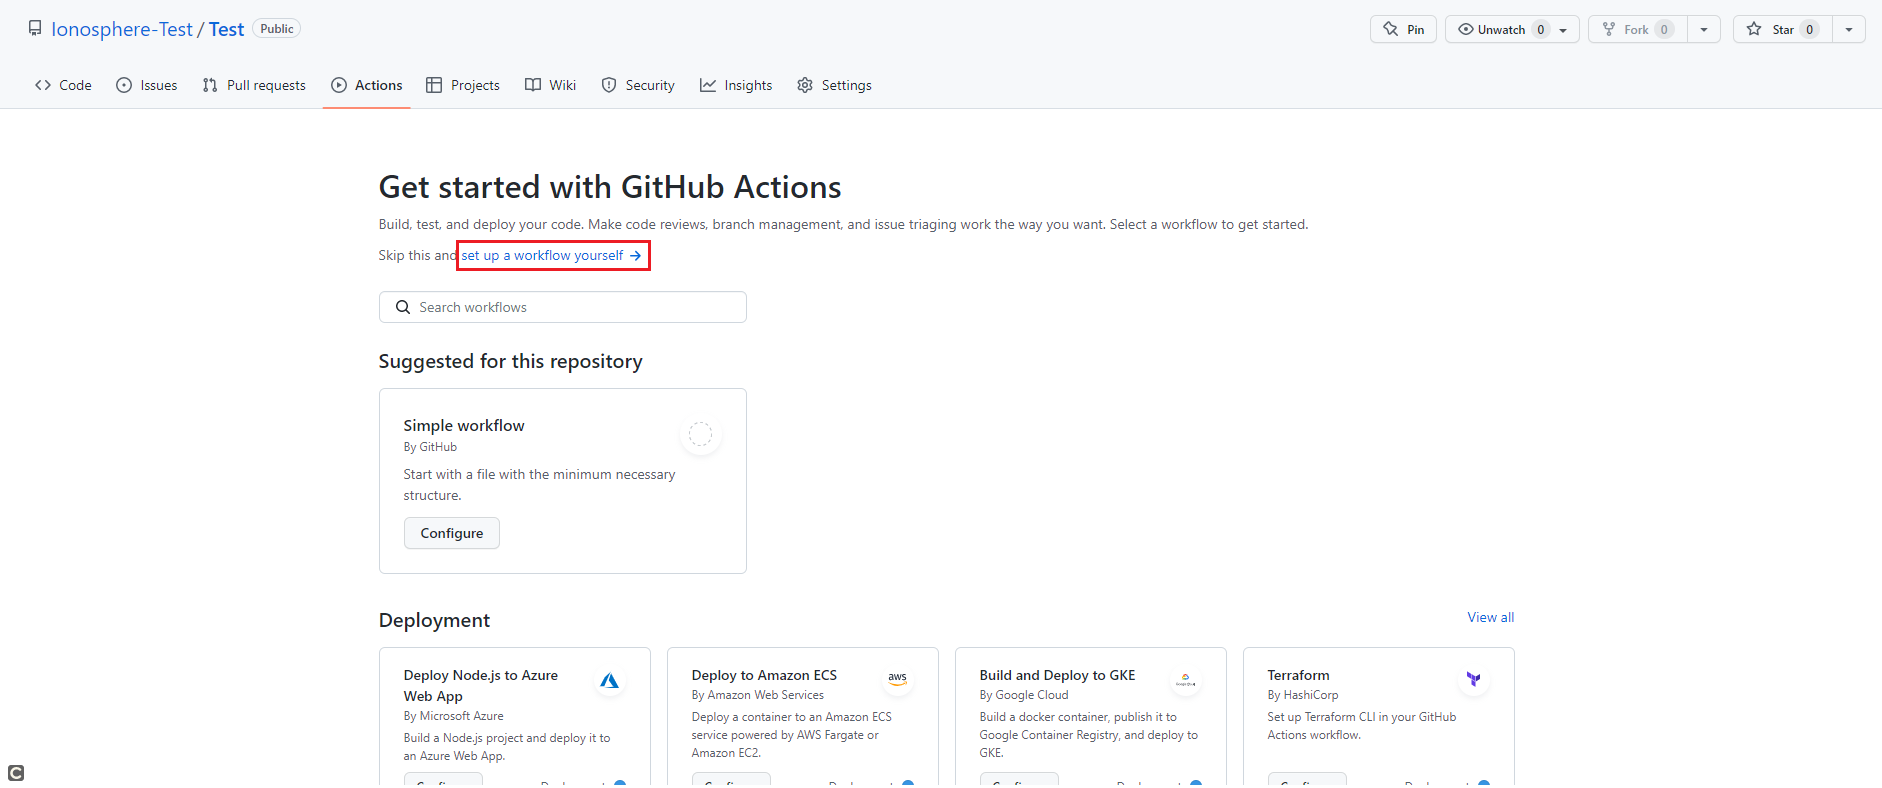
You can now create your own workflow in the GitHub Actions menu. To do this, click on the “set up a workflow yourself” button.

Step 2: Write code for the GitHub workflow
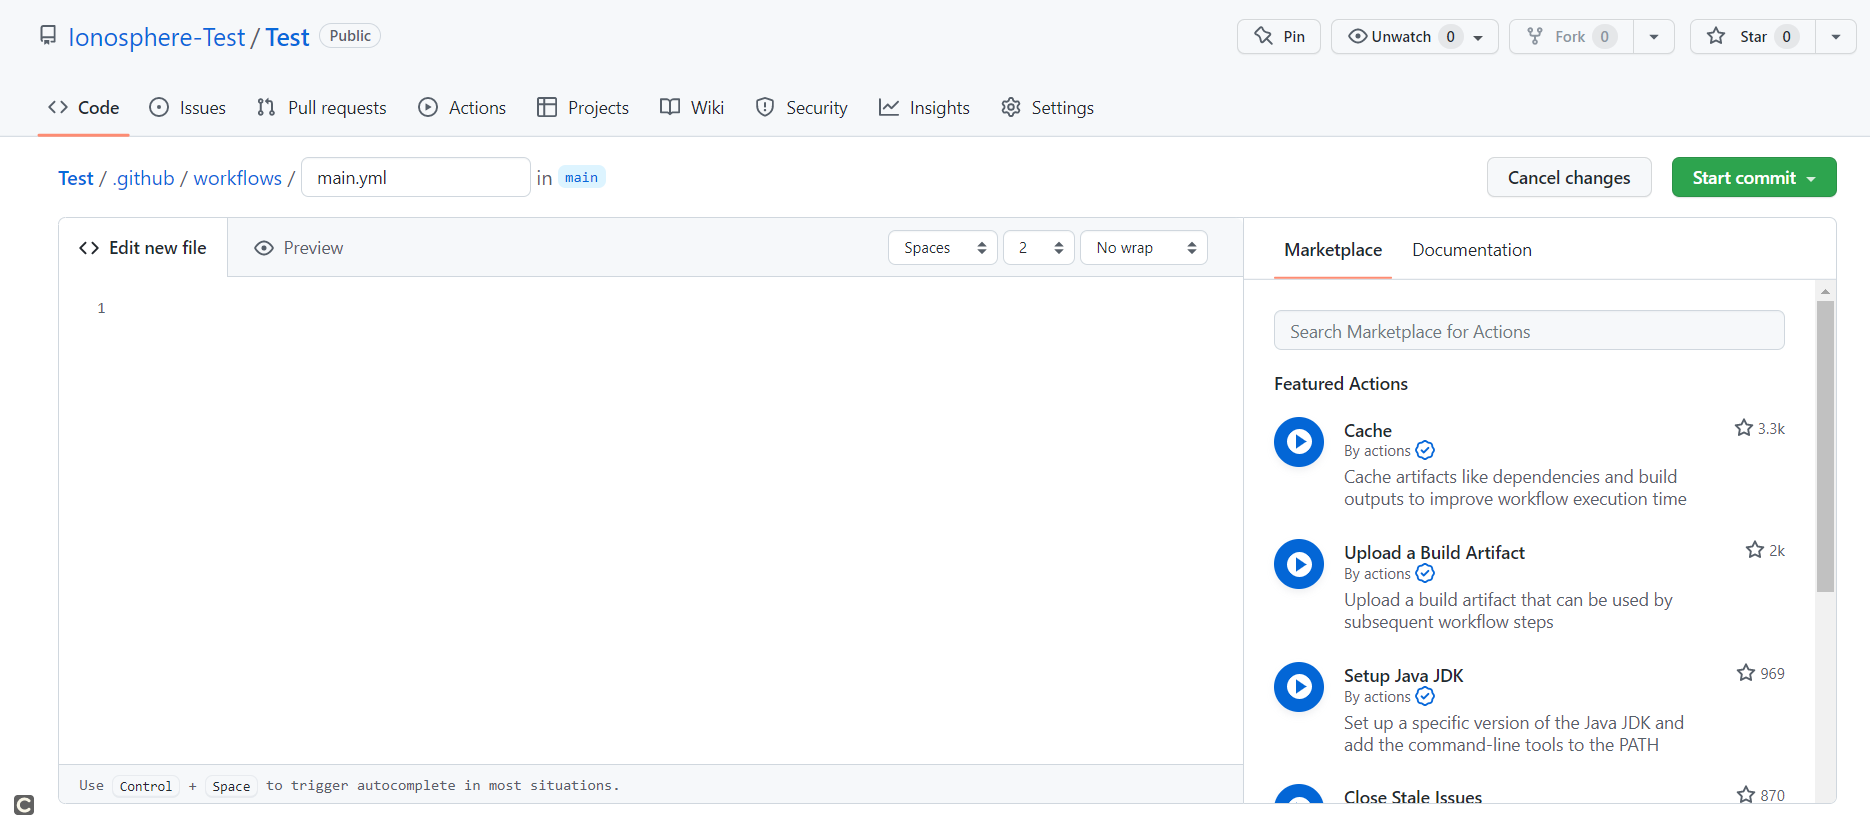
Once you have created a new workflow, a new file named main.yml opens automatically in the directory github/workflows. You can edit this file directly in GitHub and add the code you want to run into your workflow. As the file extension indicates, this code must be written in the YAML programming language.

Only you decide what actions you specify in your code. Our example code creates a workflow called “example” and runs whenever a commit is made in the “main” branch:
name: example

on:
	push:
		branches: [main]

jobs:
	build:
		runs-on: ubuntu-latest
		steps:
-  uses: actions/checkout@v2
    with:
	fetch-depth: 0
- run: make
First, it specifies the specific time when the Github workflow should be executed. The keywords « on » and « push » are used for this purpose. These trigger the workflow if the code is specified after the « branches » keyword.
The workflow itself consists of a job called « build », which, in turn, takes place in two separate stages and runs on an Ubuntu host.
In the first step, we use apredefined GitHub action called « checkout ». It ensures that all repository code is downloaded to the host. The “fetch-depth” parameter can be used to specify the number of commits to fetch. Specifying ‘0’ ensures that the full commit history of the ‘main’ branch is downloaded.
The second stage run the « make » command on the host. It compiles and manages code by executing commands that are usually specified in a « Makefile ».
Step 3: Save and commit the Github workflow
Once you’ve specified the code in your workflow, all you need to do issave the file then make a commit. From now on, your workflow will run whenever the specified event occurs.


