Setting up a personalized email address with its own domain name in Microsoft Outlook email can be done quickly and easily. After obtaining your personalized address, simply sync your personal domain with Outlook to benefit from this feature. Find out how in the rest of this article.
Outlook: create a custom domain
If you want to create a unique email address instead of typical Outlook addresses with extensions like outlook.fr, hotmail.fr Or live.fr, you first need a personal domain. You can order it from the domain registrar of your choice, for example with IONOS. The prerequisite is that the desired address, including the preferred extension or top-level domain, is still available. Typically, providers offer a domain checker for this purpose which allows you to know the availability of a proposed domain before you begin the registration process.
Register an Outlook domain: IONOS example
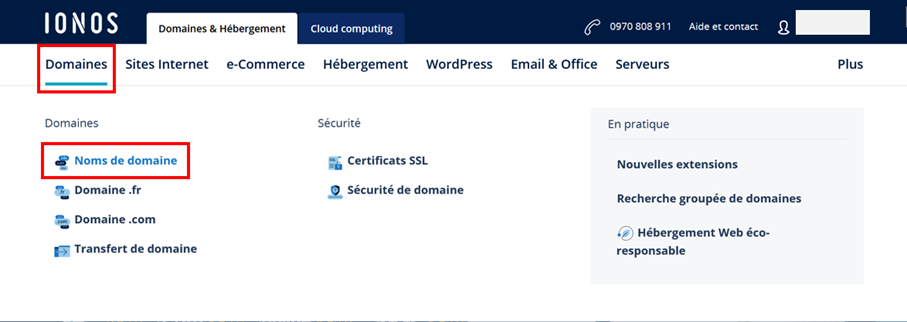
At IONOS you can rent your own domain for your Outlook account in just a few steps via the official IONOS website. From the home page, click on the “ Areas ”, then on “Domain names”.
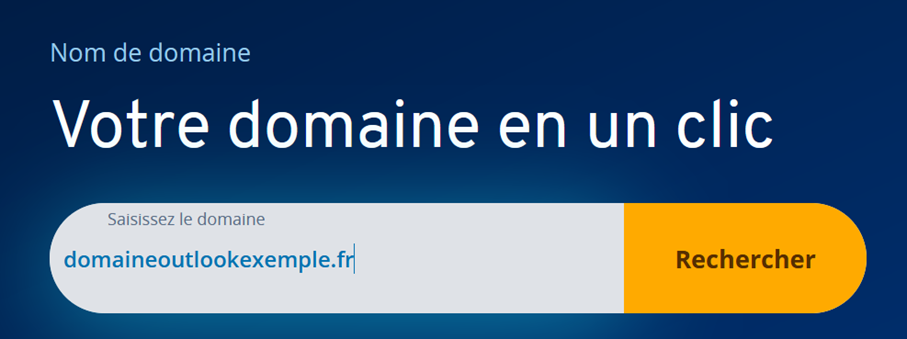
In the Domain Checker search box, now enter the domain name you want to use for Outlook. Then press the button “ To research « .
Once you have started the search, the tool checks whether the address entered is still available. If this is the case, you will receive a message confirming this. If the domain is already taken, the IONOS domain checker offers you similar alternatives. You can of course also try a completely different address.
Click on the button » Add ”, then on “ Continue » to register a domain that is still available. You will then be automatically redirected to the shopping cart, where you can add other domains or other IONOS offers such as web hosting or domain protection to best protect your address.
To link your own domain to Outlook, you usually only need the address, so you can simply continue with the option » Domain (alone) « . Complete the domain purchase by creating a customer account for payment or paying the fee through PayPal.
If you register a domain with IONOS, you can count on reliable support and simple setup. Additionally, with Domain Transfer Lock, you can be sure that your address is not transferred by third parties without your knowledge!
Linking your own domain to Outlook: step by step (IONOS example)
If you have registered a domain, you can link it to your Outlook email account at any time. To do this, you need your connection details from the access provider, as well as those from your Outlook account. Configuration is done via the browser of your choice.
Step 1: Create an email address for your domain
For your own domain that you want to link to Outlook, first create an individual mailbox. To do this, log in to your supplier's customer account (IONOS login page]) and enter your connection details there.
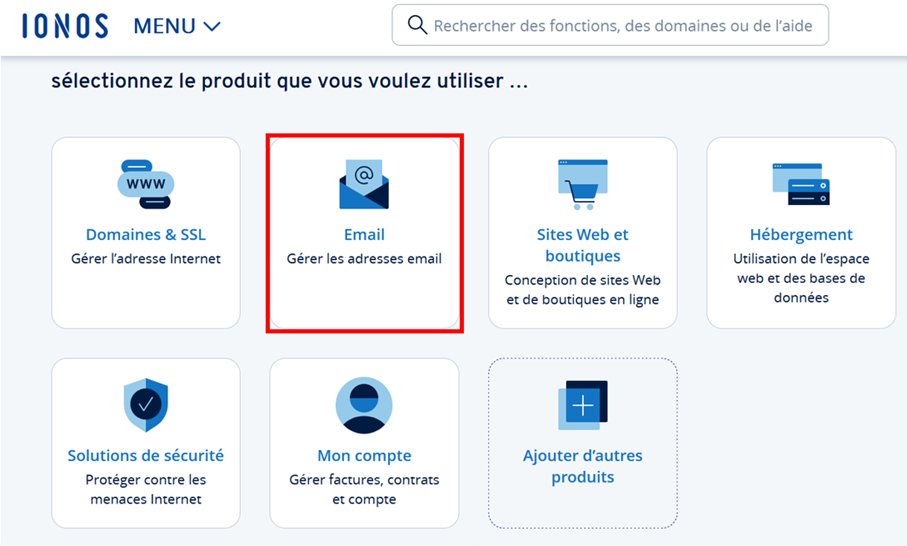
In the presented overview, click on the entry “ E-mail « .
When entering the registered domain for Outlook, then click on “ Create a new email address » and then choose “Email Basic”. Determine the name of your future address by filling in the username part before the sign @ and the domain purchased. Also choose a secure password. Finally, you can confirm the new account by clicking on “ Save « .
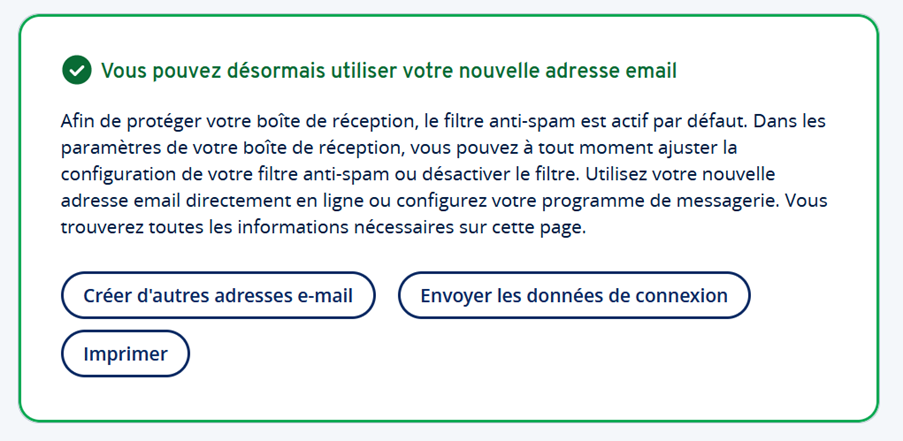
Once the email address is successfully configured, you will receive a confirmation notification.
Step 2: Integrate your own domain into Outlook
Log in now via Outlook login page with the account you want to associate with your own domain. If after logging in you are first redirected to the Microsoft Dashboard, now all you need to do is select the Outlook app. As soon as the email service is launched, access the settings via the gear icon in the top menu bar**.

To use Outlook with a personal domain, select the following options successively:
- “Sync mail”
- “Manage or choose a primary alias”
- “Add an email address”
- “Add an existing email address as a Microsoft account alias”
Enter the created domain and confirm the address by clicking on “ Add an alias « .

Step 3: Verify the domain
The added domain should now appear in the list of account aliases. However, it is not yet possible to select it as a new Outlook address. To do this, you must first follow the following steps:
- Push the button » Check » in the alias account entry for the added domain.
- Select “ Send an email message « .

- Log in to the configured IONOS email address and click on the confirmation link received from the Microsoft account team.
If the link between Outlook and the personal domain was successfully established, the « Verify » button should be gone. In this case, click on “ Choose as primary alias » to make the change of address.
If you log out of the Outlook account now, you should already be able to log in with your new personal domain. However, it may take some time before you can send and receive emails via the new address.
Use your own domain in the Desktop Outlook client
Of course, you can also use your own domain as the active email address in the desktop version of Outlook. As for connecting with the outlook.com email provider, first create an email address for this domain in your customer account. Next, add your own domain to Outlook using the instructions below.
Step 1: Start manual account setup
Start the Outlook desktop client and navigate to the “ File « . In the « Information » menu that opens, you will find various basic options for your Outlook profile – among others the option » Add an account ”, on which you must now click.
Enter the email address you created for Outlook based on your own domain. Then click on “ Advanced options » and check the box “Configure my account manually”. Finally, tap “ Connection » to start the configuration.
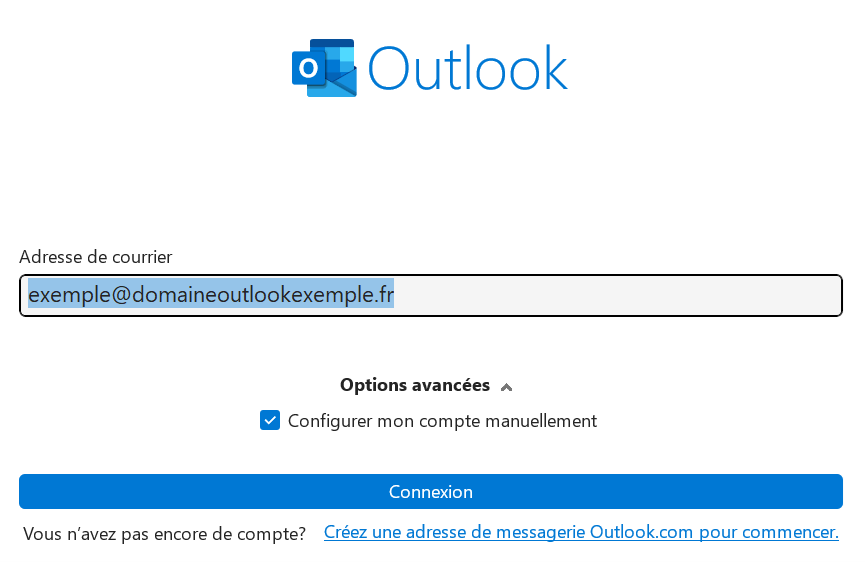
Step 2: Associate Outlook with its own domain
In the next dialog box, choose either IMAP or POP3. In both cases, it's a question of how your messages will be retrieved. We then choose “ IMAP » and enter the password for the created email address in the next step.
Outlook then attempts to connect directly to the IMAP server. Since you have not yet made any settings, the connection fails. Then open the IMAP server settings.
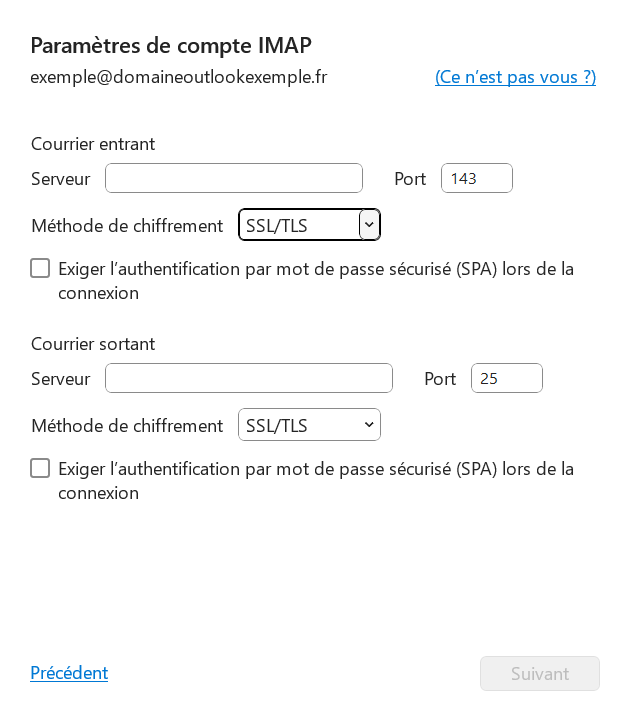
Information about IONOS incoming and outgoing mail servers can be found in the customer account:
- Log in to the IONOS customer account.
- Click on » E-mail « .
- Select the email address you created for Outlook.
- Tap the menu option “ Email server information (POP, IMAP) « .
To finalize the configuration, transfer the information to Outlook's IMAP settings and click » Following » And » Connection « .
You can also automatically forward emails sent to the custom domain created for Outlook. For each address, you can define up to ten forwarding destinations. To find out exactly how to configure an email redirection, visit the IONOS Support Center.


